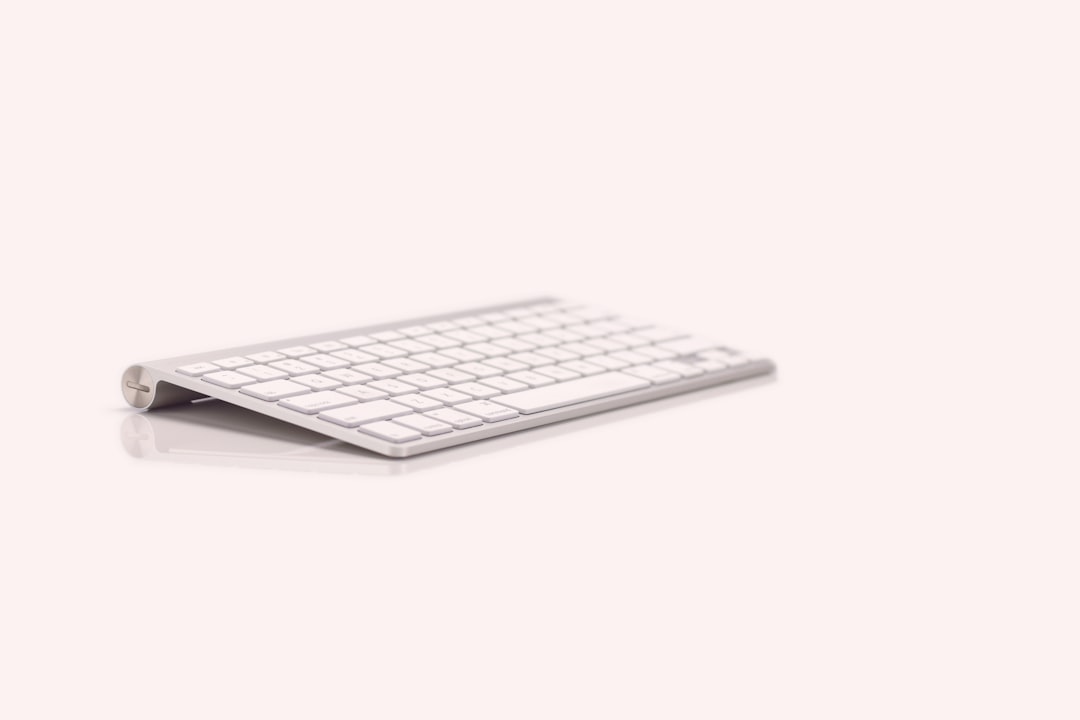
Keyboard protectors are a great way to keep your keyboard clean and free from dust and debris. However, over time, these protectors can become dirty and may even start to affect the performance of your keyboard. In order to keep your keyboard protector in top condition, it’s important to clean it regularly. Here are six easy steps to clean your keyboard protector and keep it looking like new.
Step 1: Remove the Protector
by Barrett Ward (https://unsplash.com/@barrettward)
The first step to cleaning your keyboard protector is to remove it from your keyboard. This will allow you to clean it more thoroughly and ensure that no dirt or debris is left behind.
Step 2: Shake off Loose Debris
Once you have removed the protector, take it outside and give it a good shake to remove any loose debris. This could include dust, crumbs, or other small particles that have accumulated on the surface of the protector.
Step 3: Rinse with Water
Next, rinse the protector with water. You can use a sink or a hose for this step. Make sure to use lukewarm water and avoid using any harsh chemicals or cleaners, as these can damage the protector.
Step 4: Use a Mild Soap
If your protector is particularly dirty, you can use a mild soap to help remove any stubborn stains or grime. Make sure to use a gentle soap and avoid any harsh chemicals that could damage the protector.
Step 5: Gently Scrub
Using a soft cloth or sponge, gently scrub the protector to remove any remaining dirt or stains. Be careful not to scrub too hard, as this could damage the protector. If you are using a sponge, make sure it is not too abrasive.
Step 6: Dry Thoroughly
After cleaning, make sure to dry the protector thoroughly before placing it back on your keyboard. You can use a clean towel or let it air dry. Make sure it is completely dry before placing it back on your keyboard to avoid any moisture damage.
Bonus Tip: Use a Dust Removal Tool
by Eduardo Barrios (https://unsplash.com/@koflights)
If you want to keep your keyboard protector clean and free from dust in between cleanings, you can use a dust removal tool. These tools are specifically designed to remove dust and debris from hard-to-reach places, making them perfect for cleaning keyboard protectors.
By following these six easy steps, you can keep your keyboard protector clean and in top condition. Regularly cleaning your protector will not only keep your keyboard looking like new, but it will also help maintain its performance. So don’t neglect your keyboard protector – give it a good cleaning today!
Have you tried any of these steps before? Do you have any other tips for cleaning keyboard protectors? Let us know in the comments.


